Knowledge of gown construction and its many integral layers is part of what makes it complex. In this case the underlining looked awful on the wearer. I did not photograph it on her, but looked very stiff and was actually cutting into her skin a bit even though the gown was big on her! Once I had the gown opened up I quickly realized why--the manufacturer used an underlining on both the exterior and interior layers. Two underlinings---of horrible quality stiff fabric. I will show you how I removed one of them to find a much better result.
You may be asking what is Underlining? I found a great definition on Craftsy--
"What is underlining?
Underlining serves many functions in a garment, but most generally it supports the fashion fabric and improves the overall look of a garment. It adds body to the fabric in a subtle but luxurious way, enhancing the fabric’s drape. Underlining helps stabilize loosely woven fabrics and can strengthen delicate fabrics. It is also a great and easy way to reduce the transparency of sheer fabrics. Garments that are underlined will wear better, last longer and wrinkle less as the supporting nature of the underlining protects the outer fashion fabric from excessive wear and tear.
Underlining is not the same as lining or interfacing. In fact, they are quite different. Interfacing is used to add stability and structure to select parts of a garment while lining is nothing more than a way to conceal the underbelly of a garment that hangs separate from it."
That may be nerding out a bit in the sewing technical terms for you--but its important to understand. This garments exterior fashion fabric is a poly chiffon. Very lightweight, and needed stability--But the use of two unerlinings was causing the garment harm and not doing anything for the softness of the garment.
First I will show you how I marked the gown.


I simply mark with a good invisible tailors chalk where my pins were.


After I mark where my pins were its time to get inside the
garment.
Knowing your way around a gown helps decide where to enter
and exit a garment. This gown has a
dropped waist, and because of the underlining issue I had to detach from the waistline—That
was my point of entry. There are many
ways to get in and out of a garment, sometimes the lining is attached to an
exterior fashion fabric and you need to find the POE in the CB lining seam. This one was detached, so there were other
options for me.
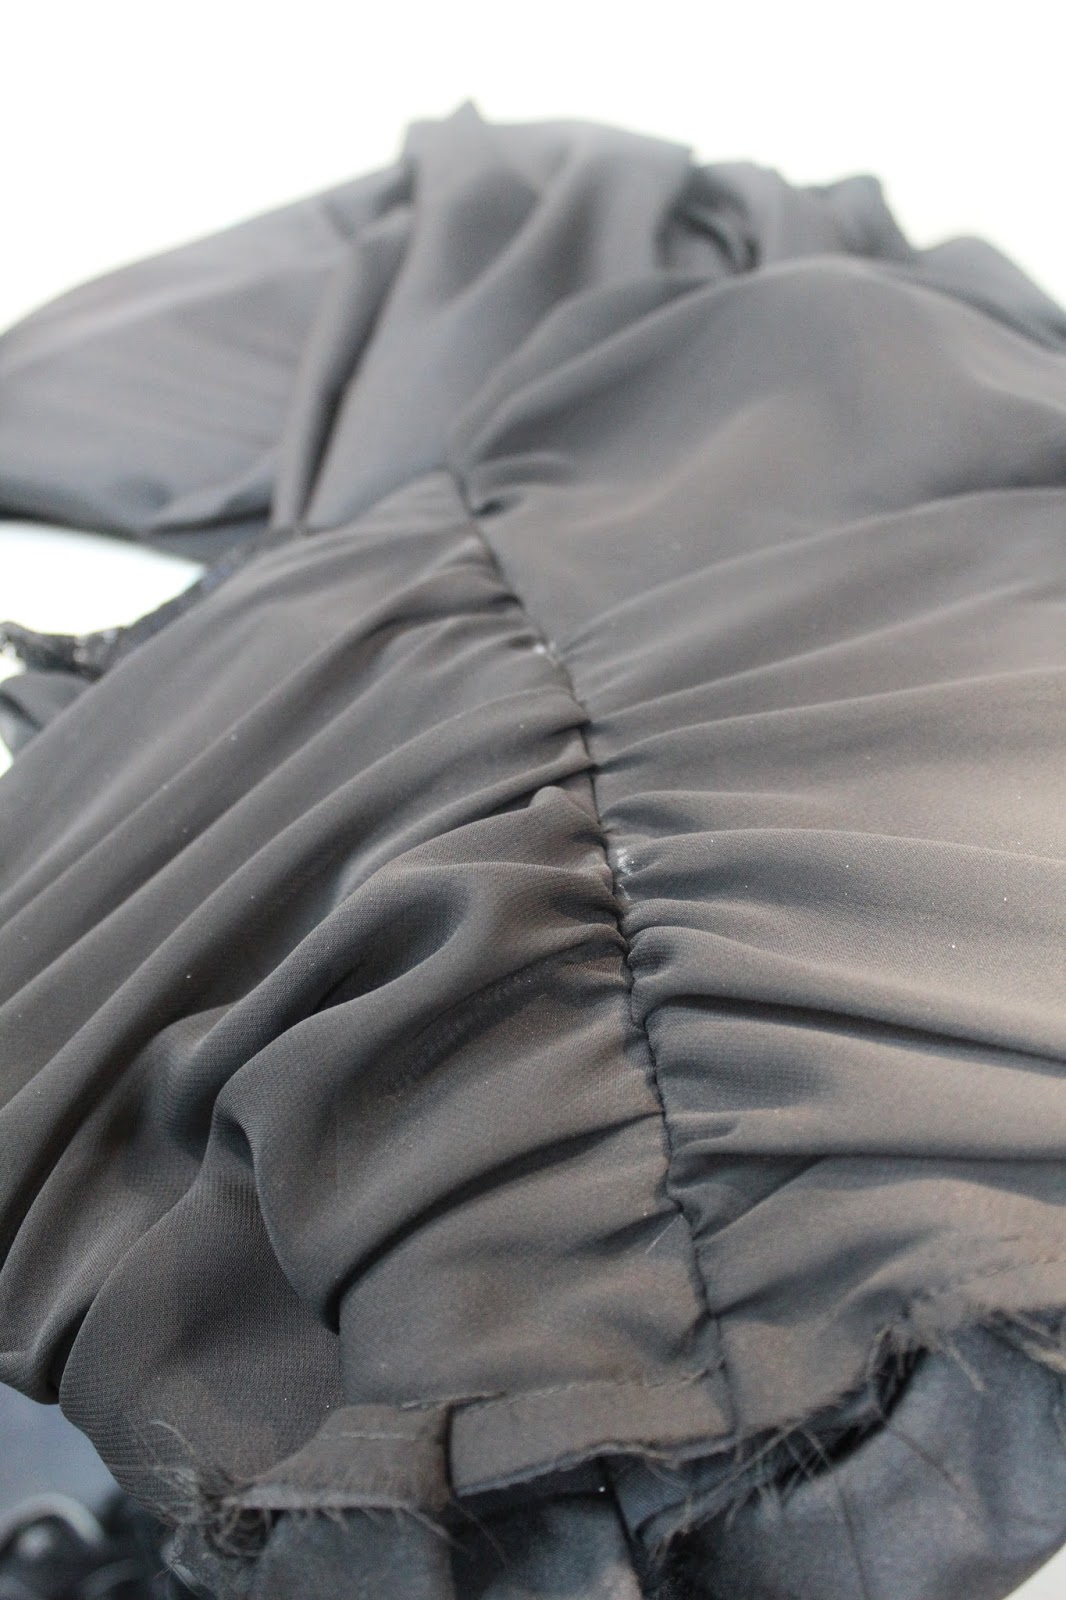
This is where I noticed right away I had problems. Two underlinings was causing the garment to
be too stiff and because it wasn’t designed with a corset type mentality it was
just all wrong. (poor design tisk tisk) Here I show the underpinning
attached to the chiffon which is additionally attached to a lining. That is ONLY the exterior fashion fabric “layer”
 On the right side is the "lining" layer
Left is the fashion fabric layer with its own underlining

Now I start on the fashion fabric layers, taking out that underlining.
I separate the underlining from the chiffon. Here you can see the three layers. Chiffon,
lining, underlining. I am cutting out
the “underlining” and only leaving it in the bustie section. The underlining extended all the way to the
dropped waist.


Here is the detached underlining I'm holding.
 Now that its detached I sew the lining back together.
 -How it looks detached
 A detailed look
Now I begin to sew the lining together again


Here I reattach the seams, lining to lining, right sides
together along the princess seams. It’s
also very important to remember to sew exactly where the previous lines
were. If you aren’t taking in the
garment in that location of course.

This is how it should look after you have re-attached it. Those seams of course need to be pressed flat and open, I will get to that later on.
Once I had it reconstructed, it was time to start on taking
in the sides.
 View your markings and take a mental note
 Detach at the side seams the fashion fabric layer and the lining layer. I like to detach and extra 1"-3/4" to work with, you will see why later.
Here comes your mental note from before. Measure both sides right and left. When fitting a person you can't always get your pins perfectly even on both sides, and in this case I will split the difference between right and left. It is also VERY important to remember who you are working for. Sometimes a persons body is different on one side. Sometimes, one breast is larger than another. In that case do not split the difference and make sure your right differentiates from the left. In this case my wearer was proportionate and needed 1 3/4" taken in at the underarm on both sides. Remember to split this in half when you sew...that's 7/8" on the double. (Now do the same with the waist measurement, and hip measurment)

Once your garment is inside out draw your measurement accordingly.

Then sew it! Sometimes if my chalk hasn't been sharpened and leaves a line thicker than 1/8 inch I will sew on the inside of the line to ensure I'm not overcompensating for the density of my line. Or you could just sharpen your chalk and not be lazy like me :)

This is where beginners panic. You are coming to the top of you the armhole and guess what? there's a huge gap between the two layers--this is of course in ratio to how much you are taking it in and in this case it was a lot! Do not fear my friends, continue on your way and you can change the slope of the line later. Ohh and did I mention there's a chiffon strap that also has to be shortened, regathered and dropped all in this same pin point location? Patience my friends!
 I'm holding the chiffon strap that needs to be dropped, regathered, and set into the lowest layer right below the seam allowance.
 detach about 2" down the two side seams, regather the chiffon and place it.
 I have done all that and am holding it with my finger in its prime location. I rarely use pins kids--Pros never do :)
Finish your line all the way up

Quick reminder, trim your threads as you go along, its important and saves time later on!


Remove the old sewing line so the seam can be pressed flat and open. I never use a seam ripper. In alterations you need to learn how to use a razor blade. Seam rippers take far too much time and once you get skilled with a razor you will never go back. Be careful though! Rip thread, not fabric.

Now you need to create the proper seam allowance and in doing that run a basting thread 5/8-3/4" away from your seam.

Then trim behind your basting line.

It should look like this.
Turn the garment right side out to view your work. You should see your chalk marks from where the pins were-only a faint hint of the line. That way you know you haven't gone too far or not enough.
Now its time to take in the lining layer.


Here is the underarm where you have the outside layer, inside layer and strap conversion.

This section nearest us is what needs taken in. Do the math, and mark your marks. Same concept as before. Except with this layer you now have to face the boning issue. Remove the boning completely along the seam. We will re-attatch it later.


Markings, then sew your seam.

Same rules apply, undo the old, recreate new seam allowance.
Now it time to attach the three layers at the armhole (one of those being the strap). Problem is what we talked about before. The jump between the two layers has grown significant since you've taken it in. You need to create a new slope, as least dramatic as possible.


After you have this, trim that excess to 1/4" at the top. I didn't photography this (whoopsies) If you don't trim you will have pulling issues. Sometimes I additionally notch the seam allowance to help with the curving slope.

Right side out it will look like this from the interior layer. Now its time to stay stitch the facing.

Make sure you don't get any layers tucked up under there when doing this!


It should look like this when you are complete.
Now you need to do the other side! Ughhhhhhh the wooes of sewing!
Once the other side is done, I added bra cups (a tutorial for another day) and its time to finish.
Don't forget to put your boning back!!

Because the curve at the bust has changed, (shortened technically) you will need to shorten it. I push it out of the casing, trim and go about my business

Now it's time to finish up! Close up the waistline, which was our POE and you are practically finished!! I like to also add back the hanger straps by hand--this is a taste issue and can vary. I like to do it this way because I know most people hate hanger straps and end up cutting them out at some point. When you sew the hanger straps into a seam, its hard to trim them later on without it looking ridiculous and unprofessional. That's why I like to do them this way. Later on down the road if you decide to remove them, its as easy as pie!

Hope this tutorial helped you and at the very least inspired you to sew!
Happy Sewing Dolls,
xoxo
No comments:
Post a Comment