In this tutorial I will show you how to alter a skirt from the waistband. A lot of times with a printed skirt, it is difficult to alter because you don't want to lose the detail from the hem. In this case I really liked the dark boarder at the bottom of the skirt, and didn't want to lose that integrity by hemming it. The only option is to shorten from the waistband. This is a moderate to advanced sewing alteration. I will show you how to shorten and reset the waistband, and invisible zipper.

Here is the before and after.
First you need to decide your desired skirt length. This photo above left is
the skirt before alterations. I am about 5'9'' and this skirt was still hitting at the middle of my knee. I wear my skirts above the knee, midi, and maxi. I never wear them at the middle of my knee...Not a flattering look for me. My desired skirt length is 18" down from my natural waist. (a few inches above my knee)
;l

First I measure the skirt length. It was 23 1/4" (including the WB)

Next I make my markings from the hem up. Using 18" as my guide. That being said, take into account the width of your WB and what it will additionally add to the length.

I make a chalk mark every few inches all the way around creating a new line for the WB.

Next I start taking apart the skirt. You need to remove the WB completely, and also the zipper.

Its one thing to learn how to put in an invisable zipper, its another to be able to take one out without damaging it, and putting it back in later on!

Once you have the zipper out, remove all the threads in the way of the track. Later on when we sew it back in, any little thread that can potentially get caught in there WILL GET CAUGHT. And you will be mad. lol!

Your clean zipper.

Now that you have the WB and zipper removed, mark your skirt with a curved ruler all the way around with your new placement for the WB.

A hip curve ruler is great for many things, but remember it can also be used on the inside curve for things like this where the WB curve is slightly downward.

Don't forget to add your WB measurement into the entirety of your length measurement! This WB minus the facing was 1 1/4" long. So to ensure my 18" length, I made my marks from the hem of the skirt up to 16 3/4".
16 3/4" + 1 1/4" =18"

Once you have your new WB line drawn its time to cut. I usually just eybeball, 1/2 inch above my line and cut accordingly. If you feel the need to draw an additional line then go for it!

This is how it should look.
Now comes the more challenging parts. Because we have greatly expanded the radius of our circle, the skirt will no longer fit back into the WB.

This is how it looks now and you can tell the WB is quite a bit larger. We will need to take in the skirt to fit back into our WB.

The WB measures 14" on the double which is a 28" nature waist. There is some seam allowance showing there.

When I walked my measuring tape around the new line for my WB it measured 20 1/4"
That means
New WB 20 1/4"- Old WB 14" = 6 1/4"
Now that 6 1/4 inches you split between the right and left side.
6 1/4 / 2 = 3.13"

Sometimes I get lazy too :)
Now that 3.13" is what you need to take from each side of skirt waist. Mark that.

The inside of this skirt is white and very hard to see my chalk. I mark the 3.13 at the waist, then taper down to the hem. You can add as little or less flair as you desire. I took in the bottom of the skirt about 1 1/2"

Mark both sides the same way. The other side remember to mark the new placement for you zipper.

One of the easiest ways I've found to do this is to simply put the zipper there! Mark to sew your seam 1 1/4 inch higher than your zipper length. That Bottom 1/1/4" you will see you need later on.
Keep in mind when shortening a skirt from the WB sometimes you can get away with NOT removing the zipper, but only shortening it. That of course depends on how much you are shortening the skirt. Say you are only shortening 1-2 inches? In that case you can get away with shortening a zipper, as long as it can still slide comfortably over the hip. In this case it would not work for many reasons. Too much to shorten, and because its a circular skirt, the radius expanded too much, so it also needed a LOT to take in.

Oh and BTW, I cant tell you how many times I've altered a garment of mine without updating my measurements. If I lost or gained weight since I last measured myself, guess what? All that work for nothing! (screams heard a mile round) So make sure your waist measurement is what you thought it was. Mine was right at 28"

Now sew your new side seams, keeping in mind the zipper side.

Cut your new seam allowance. I left about 1 1/4" in there. Serge both sides to press flat and open
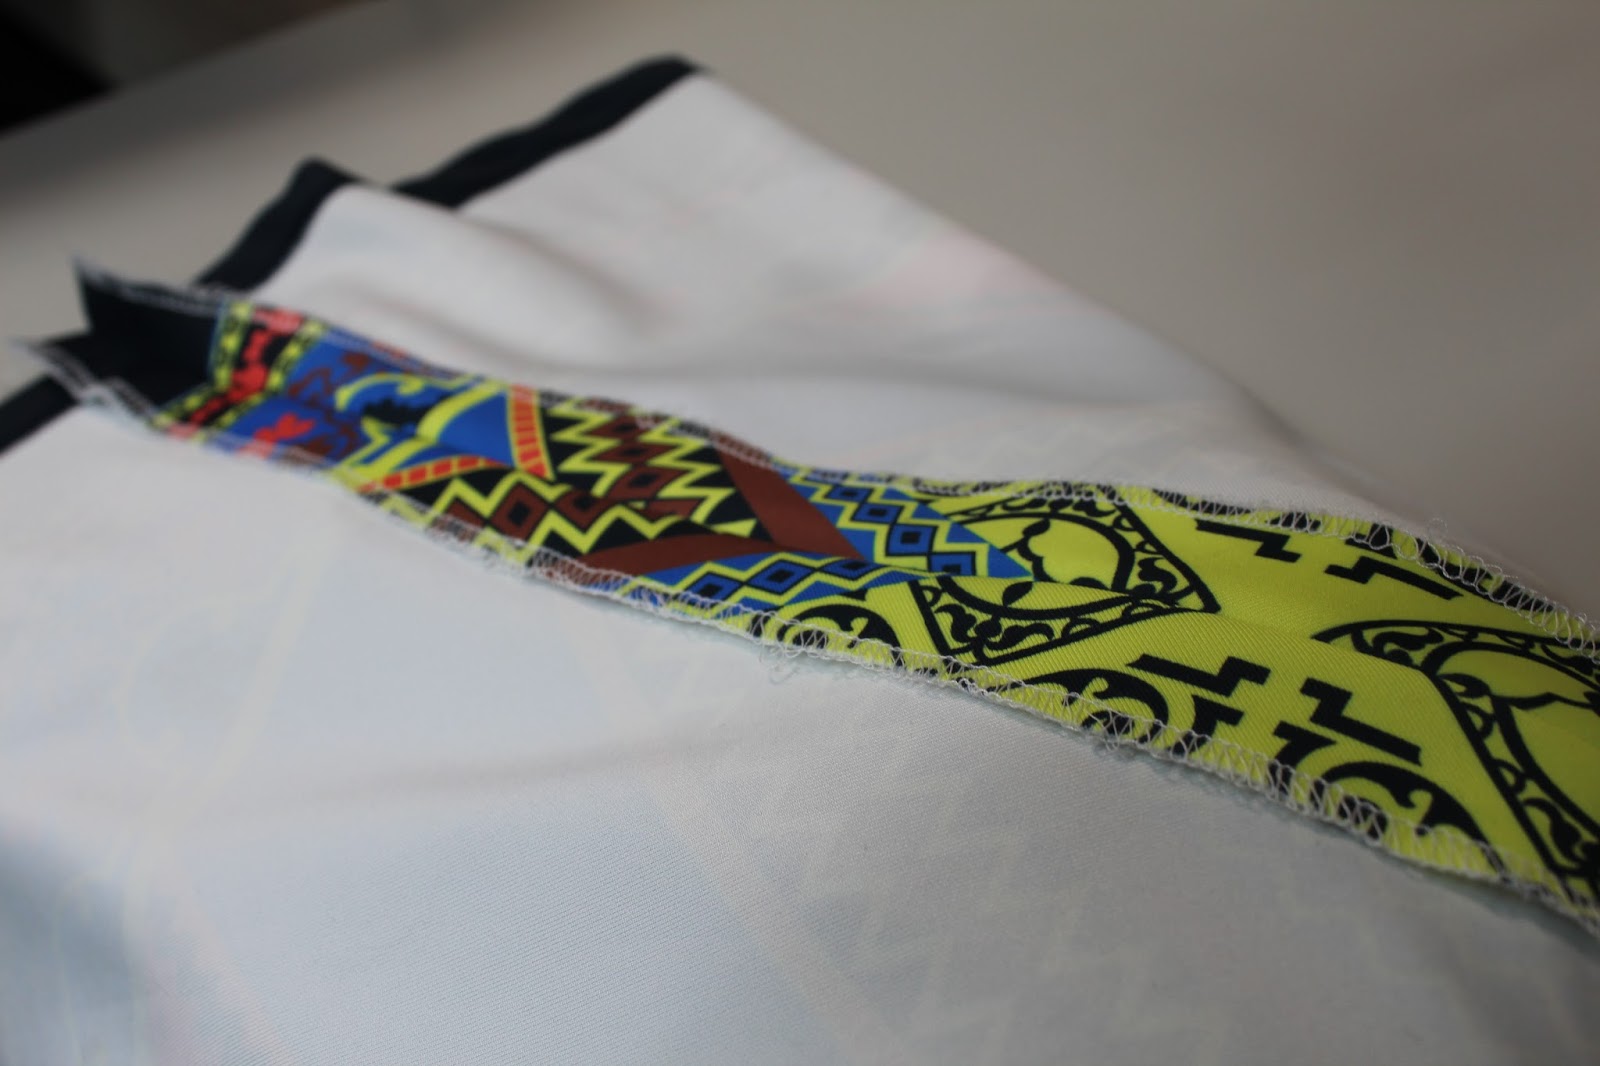
.It should look like this.

Now its time to sew on that pesky WB! Remember to sew exactly in the same line it was orginally in. Some seamstresses with pin or baste all the way around to ensure the new skirt fits the WB before sewing. I simplly match my side seams, use my chalk as a guide and sew. As long as you did your math correctly everything will fit back perfectly. That's why you measure twice, cut once.

When the WB is sewn back on you are left with that tricky zipper.

Make sure that seam is pressed flat and open. That fold will give you the line to run your zipper on.

When it comes to invisible zippers, I've seen a million different ways to do them. I prefer to start at the bottom on the right side and work my way up. The corner I am pointing out with my seam ripper is EXACTLY where the head of your needle needs to go for its first stitch. If you stray to the left or to the right. The zipper will look bad.

I put a pin at the top so I would know where to start at the bottom. The top of the zipper has a plastic tap and that needs to stop EXACTLY where the WB folds in half onto itself to form the inner WB. (if anyone is wondering, yes I left a larger seam allowance at the top of the zipper. Why? In case I gain weight and need to let the skirt out. Lets hope we don't need a tutorial for that! :)

I start from that pin point location at the bottom and work my way up. I like to change my presser foot to this one. A small 1/4" foot with a hole on the left side. This is technically a piping foot, but I have always found it easiest and best for me.

You really should baste your zipper in by hand before you do this. I simply don't because I put in several invisible zippers per day...You get good at it after the first 100 :)
Notice I also manipulate the zipper teeth with my fingers as I go. Pushing them slightly back so I get the closest to the zipper as possible.


When you get one side finished, zip the zipper up and turn right side out to view. make sure there aren't any flaws, or gathering. Notice the bottom of my zipper meets exactly with the seam. No gap, no hole, no gathering.


The other side of the zipper I start at the top and work my way down. Now you could just change your zipper foot the the 1/4" with hole on the right side...but come on. Lazy girl here. When you get to be good at invisible zippers you find the easiest and fastest routes to take. I put a pin at the top and bottom to ensure no gathering, puckering and that the placement is correct.

Then I sew from top down. I am coming to the bottom of the zipper here, and my seam ripper is showing you that exact pin point location where the seam ends. You must stop directly on this spot. do not go over or under by one stitch. One stitch at this spot will screw up your zipper. You will get either a gap from being too short, or a pucker from going to far. Unfortunately the only way to really know how to do this and to get it perfect every time is practice and patience.

Remember when I said you needed that extra 1 1/4" of the zipper? That's where this comes into play. This makes up your zipper tail, and this is how you get the zipper to turn correctly once you zip it up. The distance is just far enough as you can see for the zipper head and pull to go through the opening and up into placement.


I grab the zipper pull, from that space, its tiny hole and pull up.

Your zipper should be set perfectly now. the bottom of that diamond shape in the pattern is where my seam ends and the zipper begins. You shouldn't be able to tell the difference.

Now its time to finish the WB and facing of the zipper. Turn the facing on itself, right sides together and sew with that same zipper foot (piping foot) close to the edge. When you turn it right side out it will create the facing.

See how the zipper is a little wavy at the top? That's because I didn't trim my extra fabric close to the edge in there. Once you do that it will create a perfect 90 degree angle.
Do that for both sides and make sure your zipper should end and meet at the same place at the top.

Now its time to stay stitch the facing, so the WB is finished.

Press the skirt, seam allowance and facing "up" into the WB section all around.

Match the thread color at the WB where you will be top stitching. In this case that section of my WB was blue, So I matched that.

Then stay stitch, using the inside left leg of your presser foot as a guide. My top stitching was 1/8" from the WB.


And you are done my friends!
I really enjoyed writing and creating this tutorial because a lot of times skirts with either a beautiful print or hem most people wouldn't consider to be alter-able. And they really are! It just takes time and patience and a little bit of enginuity :) I hope this was helpful and advances you in your future sewing quests!
Happy Sewing Dolls,
xoxo

Both the skirt and cardigan are from Alter'd State. The blouse is NY&C, shoes are BCBG.
Thank you for making this tutorial. I have a full length gown I need to alter for a young lady for prom. It's a two piece gown which is in my favor so I can hem it at the waistband. She doesn't want any of the details on the hemline to go away. Your tutorial is very explanatory with lots of details I pray that this project goes as well as yours did. Again thank you. PS during the instructions of your tutorial you mentioned using a curved ruler. I've never heard of that before and I will be on the lookout for one of those... but I am going to try to put the gown on my board and chalk it all the way around so not have to use a curve ruler. (I'm assuming there is different rulers with different curves so I'm not going to tackle that unless you suggest that I should.) The skirt needs to be shortened 5 in.
ReplyDeleteThank you for this tutorial! I just bought a skirt on super sale, with an alteration like this in mind. The line of the skirt looks better retaining the volume at the existing hemline, so I wanted to find a way to decrease the length at the waist. Thank you!
ReplyDelete