

When taking in the waist on a women's pant you need to mark accordingly. With this client, she really only needed to nip in the waist about an inch. I use an "X" to mark where she fills out the seat of the pant, knowing I should not extend my line down any further than that point.
I thought this pant would be a good example for a waist alteration for women's wear, because it has a typical double top stitch on the waistband. Also has some difficulty, where you need to "stitch in the ditch" and a belt loop with no visible top stitch. I will show you how to do all of these things and make the garment look like you never touched it!
First take a look at the inside of the waistband on the inside and outside. Notice how it looks, what the stitch length is, and other additional details like how the belt loops are sewn on and also the tag on the inside of the waist band.

First, carefully remove the tag and we will add it back at the very end.


Next, carefully remove the belt loop, being sure not to rip it in any way! Rip threads not fabric!


Now its time to take apart the waistband. Open the top and where the waist band connects to the CB of the pant. Open up an additional 3/4" outside the markings to give yourself something to work with when you are turning it inside out.

It should look like this.

First you need to take in the seat, gradually tapering up to the waist. The horizontal chalk mark represents where my "X" was o the outside of the garment. Your line when doing this should be as straight as possible, starting in the original stitch line a few inches south of your "X", and then tapering up into your designated measurement at the waist. Mine was 1/2" on the double, being 1" total.

Sew that. Remove the old stitch line.

Then trim your seam allowance. A lot of beginners tend to not trim the proper seam allowance, because they are afraid of making a mistake and want to leave extra fabric to be there later on. Measure twice cut once. That's a good motto. If you don't trim your seam allowance to match the original your work will not look very professional. The only exception to this rule I use is if my client tends to go up and down in weight. If you know this personal well and they tend to need a pant taken in then let out a few months later....leave that extra fabric in there.


Serge your seam allowance in the same color thread that was originally used. This will make your work look very professional. If the pant had a bias tape on the seam allowance, put that back.


Time to take in the waist. Make your markings to match at the CB seam.


From the inside of the pant, completely separate the inside waistband piece. This will make everything a lot easier, trust me.

Take in the outside WB piece on your markings.

Remove the old stitch line, and trim your seam allowance.

Press the seam allowance flat and open.

View the WB from the outside of the pant. The CB seam of the pant and the CB seam of the WB should match! If they don't correct that.


Now match up the CB of the WB and CB of the pant and sew in the old stitch line. I do not normally pin this, but wanted to show you that both of those pieces seam allowance's need to match, don't let one go to the left or right, or there will be unwanted bulk in the WB.

Sew exactly in the stitch line. Be careful not to sew in the top stitching line, because that is very close to the stitch line and can often be confusing.

The waist should look like this, and have no top stitching yet.

Press the seam allowance "up" into the waistband section. It should follow whichever direction it originally went. I've seen some cases where it was pressed down. Just pay attention to how the garment was originally sewn and follow that.


Now sew the inside WB piece. I like to match the CB to the free piece, make my mark and do the same again the the other side.

Turn the WB inside out. Match your right and left marks right sides together, make your mark.

Sew that and cut your new seam allowance.

Press the seam allowance open and flat.

The top of WB now looks like this. The CB seam lines should match and its time to connect them.

Start by removing the top stitching back another inch or so. This will ensure you are able to sew in the seam line properly, and not get caught up in the top stitching.

The top stitching removed back a bit.

Sew the WB inner and outer piece together in the same stitch line.


It should look like this.

I like to stitch the top row of top stitching before I stitch in the ditch. This is a preference thing, the order of operations is up to you. Make sure your stitch length is identical to the one the manufacturer used. I will use a piece of scrap fabric and test my length before I sew to ensure it is the same.

Your top stitching should follow the exact line it was in before. When a sewer goes over or under that line it is noticeable even after pressing, so make sure you are exactly in your line. Otherwise the garment will look like it was altered before.

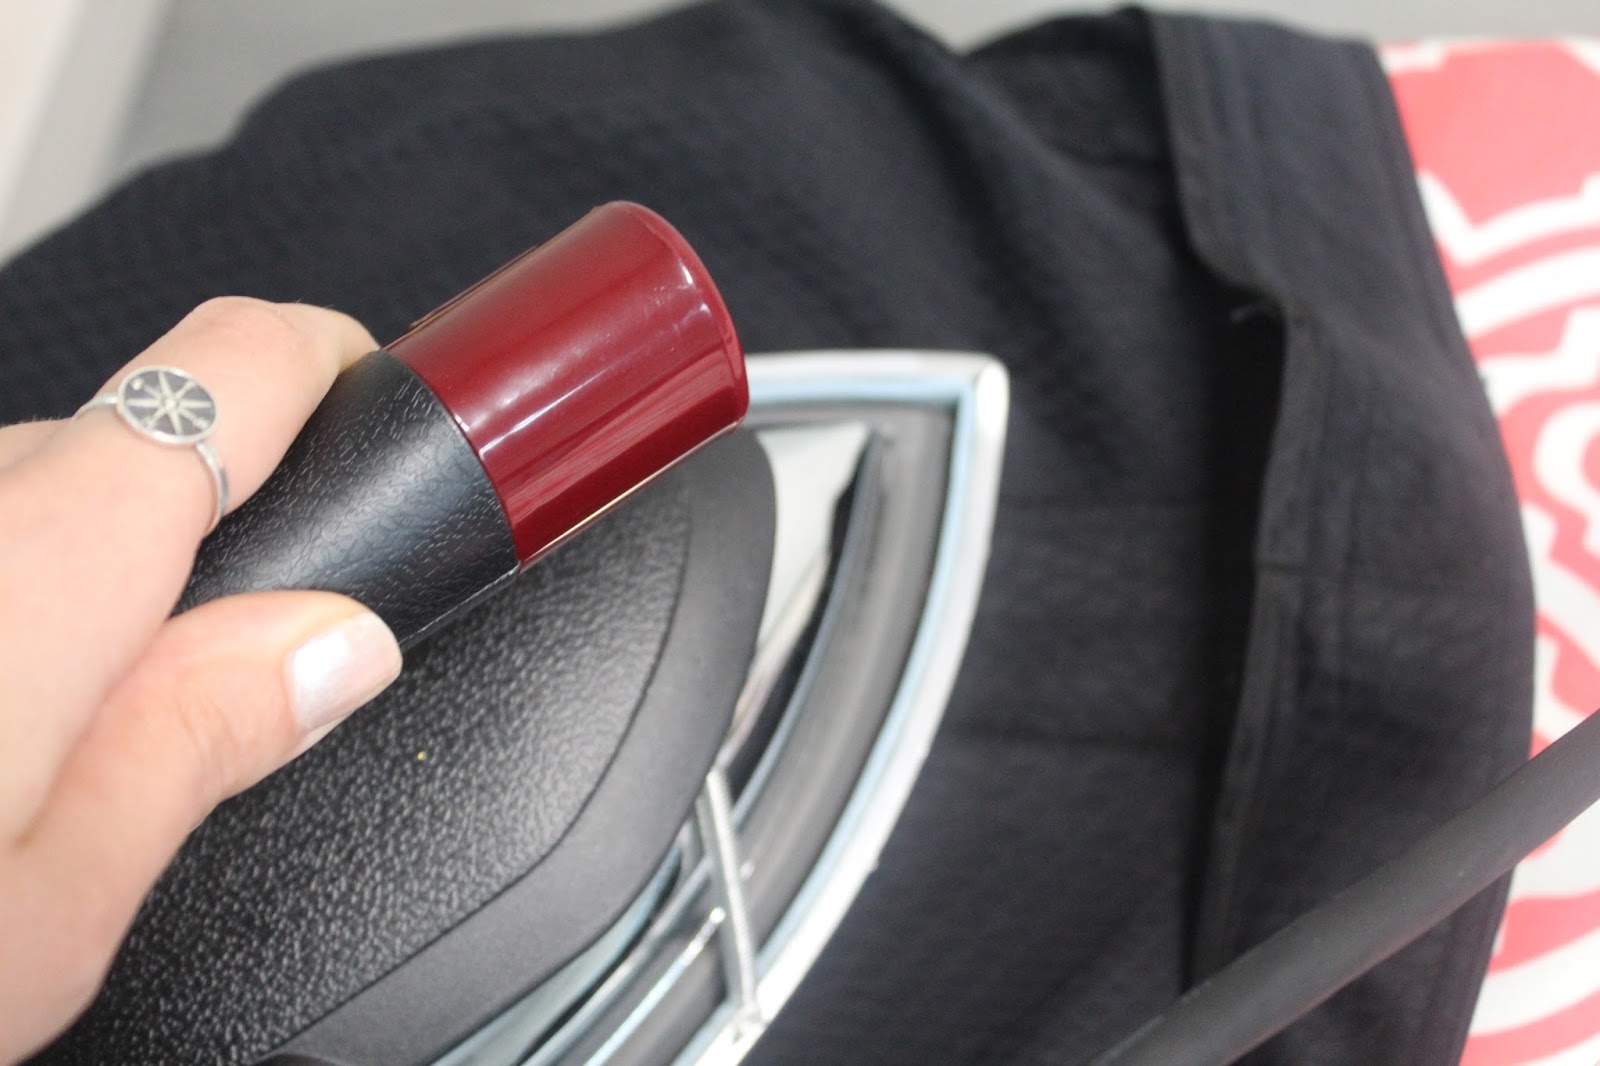
Now stitch in the ditch. For anyone who doesn't know what that means it simply means sew as close to the seam where the WB connects to the pant. I used the head of my seam ripper to try to show you exactly where this is. Your stitch line should be practically invisible.


It should look like this. I didn't photograph how I sewed the top of the belt loop. Each one is different, so look at how they sewed it and do the same.

The WB should look like this.


Finish by sewing the tag back in the same way they did.

And you are done my friends!
This is a very common alteration, and each pair of pants can vary. Just remember to keep in mind what the garment originally looked like and do your best to make it look that way again!
Happy Sewing dolls!
xoxo
No comments:
Post a Comment